
Today I continued to make some Christmas card envelops from wrapping paper using a template I stencilled out of some thin cardboard. I got the original template from here, from Mel Stapmz, which is a pretty awesome site. I used the A2 side opening template but for some reason couldn't get my printer to print the actual size I needed it to be so I used the outline and increased the measurements to fit my cards. If you want you can choose to make an envelop to fit the size of your card. I used graph paper because I hate using rulers and I don't trust myself to make an even straight line. Then stencilled it onto to thin cardboard, you could just use a cereal box.
What you'll need:
Printed template from Mel Stampz
Graph paper or basic knowledge in math (only if it doesn't print right for you)
pencil
scissors
paper of your choice, wrapping paper, stock paper, etc.
double sided sticky tape or glue
thin cardboard (like from a cereal box)
straight edge or ruler for crisper lines

Cut out the printed template and retrace it onto your thin cardboard.
Step 1(b):
If your template didn't print out the right size, or you'd like to make the envelop for a different size I suggest making it yourself. So much faster than hunting all over the internet to find one that will fit.
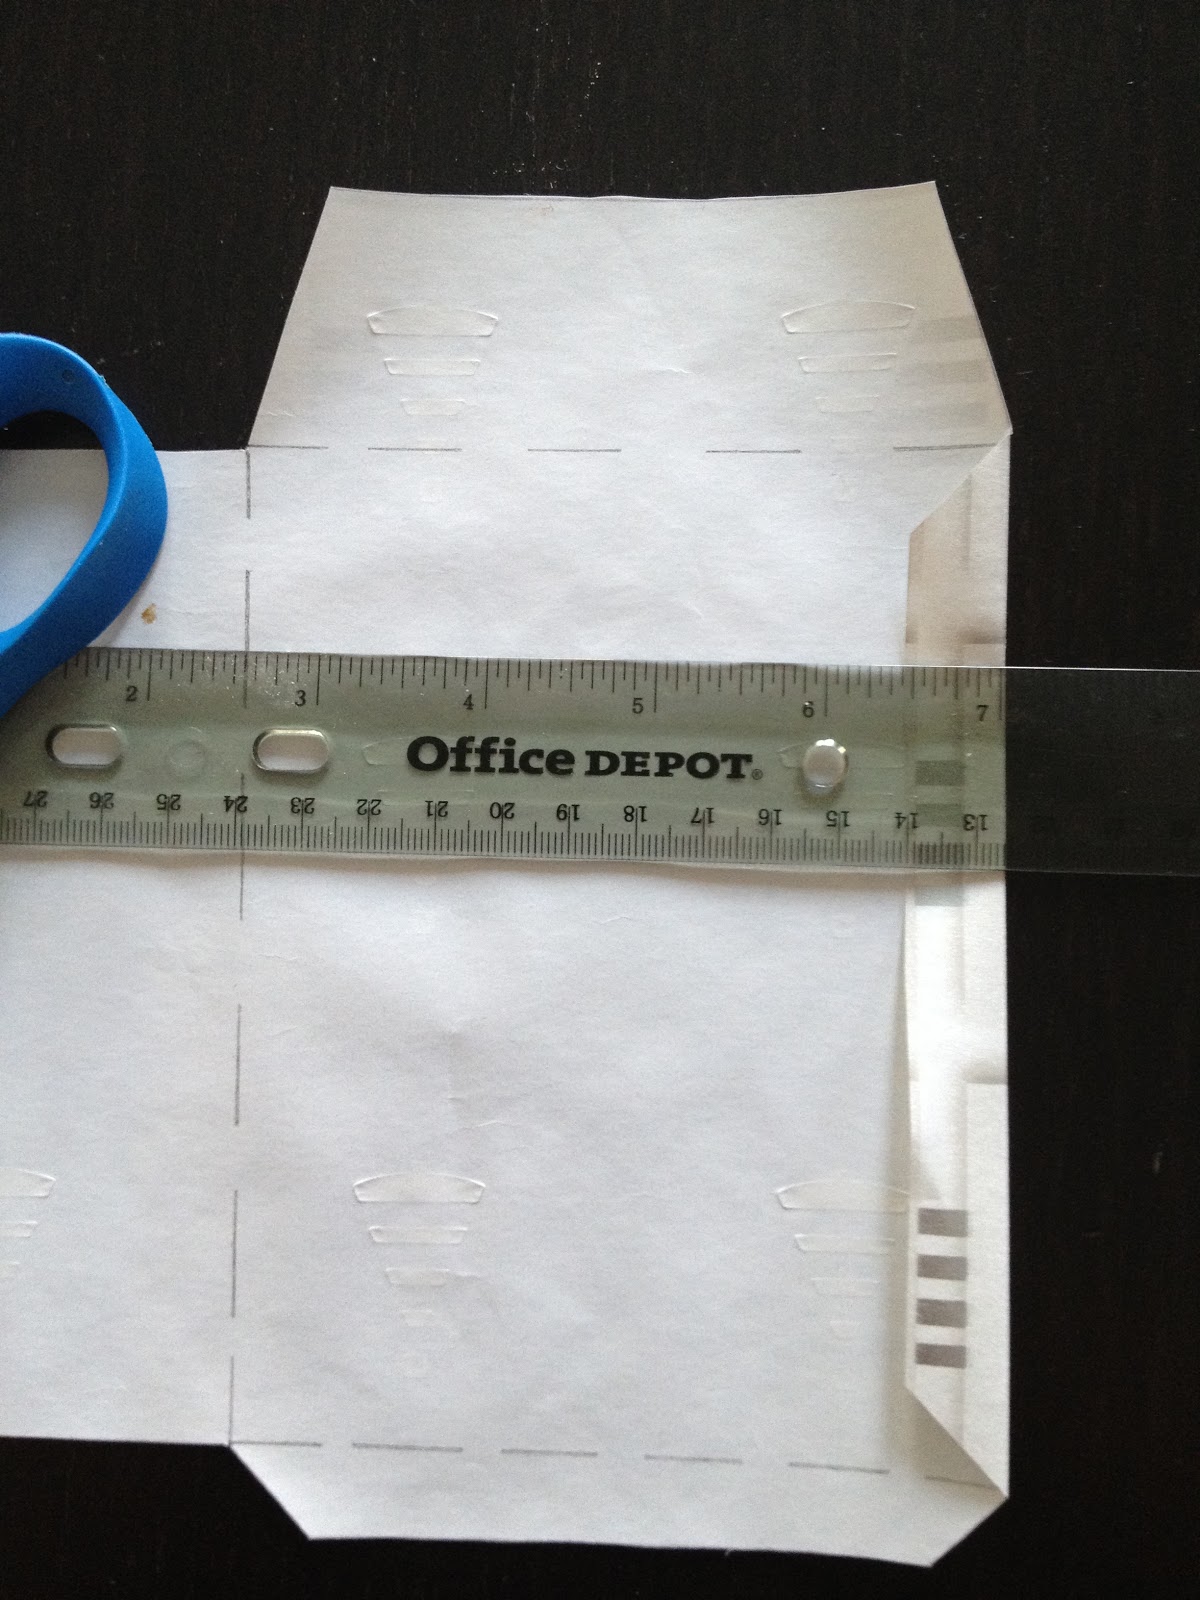
Use the card you'd like an envelop for or the size requirements. Place the card almost to the edge of the paper, then use the graph paper squares to measure the flaps. This part is really hard to explain, so hopefully the pictures will help where my words have failed. (I know, my pictures and items aren't the in the best quality, but that's what graph paper looks like after your wrestle a 2 year old for it.)
 |
| Place it so you have at least 2 squares of space on the top and to the left for the flaps. |
 |
| When you trace the card, leave a buffer space around the card so it's not a tight fit. |
My flaps are two squares up and to the right, this creates those diagonal lines so when you fold the flaps over you don't have too much bulk. The two smaller flaps will use the same method. For the larger flap, trace your card next to the first one, add a square. The final flap you can make bigger, I think I went with four squares up, two squares in.
 |
| Here you can see what I mean by 2 squares up and to the right for the diagonal lines on the flaps. |
 |
| Here's the final view of your template before you cut it out. |
Cut out your new template...


Step 3:
Pick out the paper you want to use and start tracing! I created a puzzle-fit pattern with my template so I could get as many envelops without too much scraps. (Clearly I need to work on my grammar and how to better explain things lol.)


 |
| (Ignore the oily food stain!) |
Step 4:
Cut, cut, cut.... cut your templates out. (Tip: If your paper curls I suggest placing it in between the pages of a large heavy book, leaving it over night or a few days...it's just so much easier working with a flat sheet of paper than one that continually tries to curl.)
Step 5:
Fold over the flaps, I started with the smallest side flap, then continued with the largest side flap, then the bottom flap.
Step 6:
I recommend using double sided sticky tape, depending on the thickness of your paper, glue might get all wrinkly. Start with the small flap by placing the tape down the length of the side. Fold over the large flap, then repeat with the smallest flap, folding upward.
Step 7:
Et voilà! You have yourself a nice envelop ; ) Now make how ever many more you need and then start Christmas card making. I'll be making my cards to match the themes of the paper I use with paint chips.
